How to Remove Moss from Roof: A DIY Guide for Homeowners
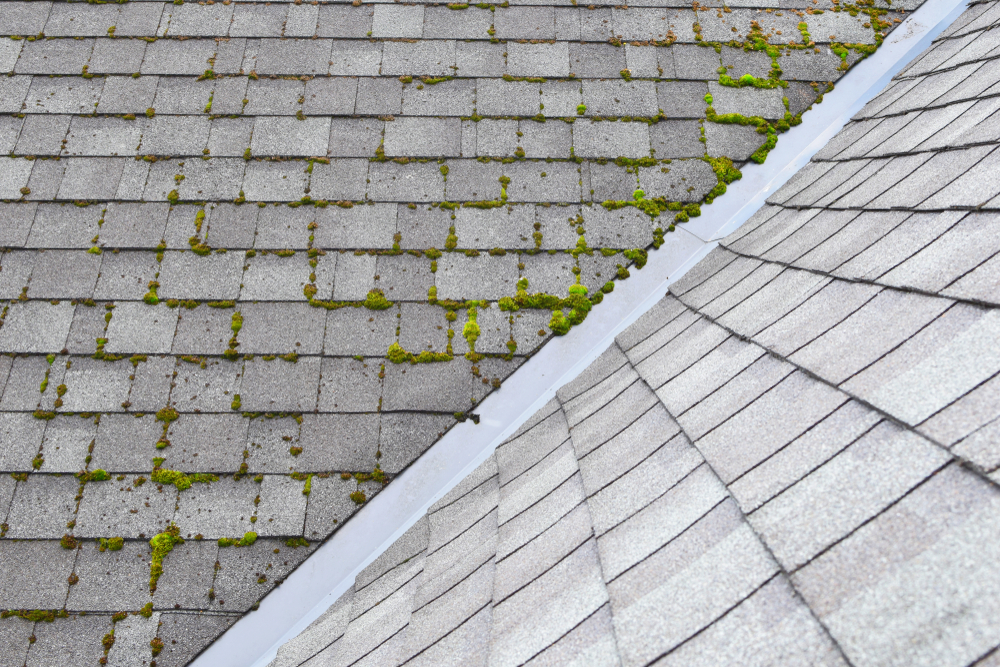
Seeing a blanket of green fuzz taking over your roof can be alarming. You might be wondering about the potential water damage this moss growth could cause. The next question on your mind will likely be figuring out exactly how to remove moss from roof.
Sometimes home owners insurances forces you to replace your roof when it shows signs of weakness. Our Bucks County roofing company can help with replacement if you have to go down that path.
You’re not alone, many homeowners face this common issue. Moss can hold a surprising amount of water, up to 20-30 times its weight, accelerating roof shingle aging. The good news is, if caught early, removing roof moss can be easier than you think with effective strategies.
Why You Should Get Rid of Moss on Your Roof
Moss holds moisture against the roof’s surface. This trapped moisture fuels other growth that might go under the roof shingles, leading to worse damage and wood rot.
As time passes, mossy areas have the possibility to also cause black streaks. This isn’t just about looks; a roof leak caused by moss can lead to a much bigger headache down the road, including costly roof repairs.
One might ask how it gets up there in the first place. The reality is, that spores from nearby trees can easily make it onto a roof.
How Moss Affects Different Roof Types
Asphalt shingles are vulnerable because moss can hold moisture against them. This accelerates deterioration.
If you have wood shingles, it could result in the rotting of your wood. Even metal roofing isn’t totally immune.
Moss can still hold dampness near the surface of roofing materials. While you might get lucky if they are coated in a non-porous surface, they’re not without danger, although most of these issues could be covered by your insurance carrier.
When Is Professional Help Needed?
If the moss problem is widespread, it might be best to get professional help. Steep roofs make any diy moss removal plan tougher.
Professionals have specialized tools and experience with roof cleaning. There is nothing more dangerous than being on a roof without the proper protective gear so the job is best left to the trained expert.
How to Remove Moss from Roof
Dead moss is much easier to take out than living moss. The perfect moment is in summer after no rain because the moss is dry, thus, easier to take off.
There’s multiple avenues you can go, however. You need to keep roof safety a top priority.
Safe Approach From a Ladder
One path involves a safe mix of bleach and water, a strategy that some cleaning services actually endorse. Use a garden water hose sprayer and avoid stepping on the roof itself.
Your safety matters with this step. Some all-plastic, large-capacity sprayers that connect to a garden hose, are specifically designed for these projects.
A good approach if possible, is to Pre-treat with a mix that’s 5-6% Sodium Hypochlorite. Be sure to check the label before trying to figure this step out.
Getting on the Roof for Moss Removal
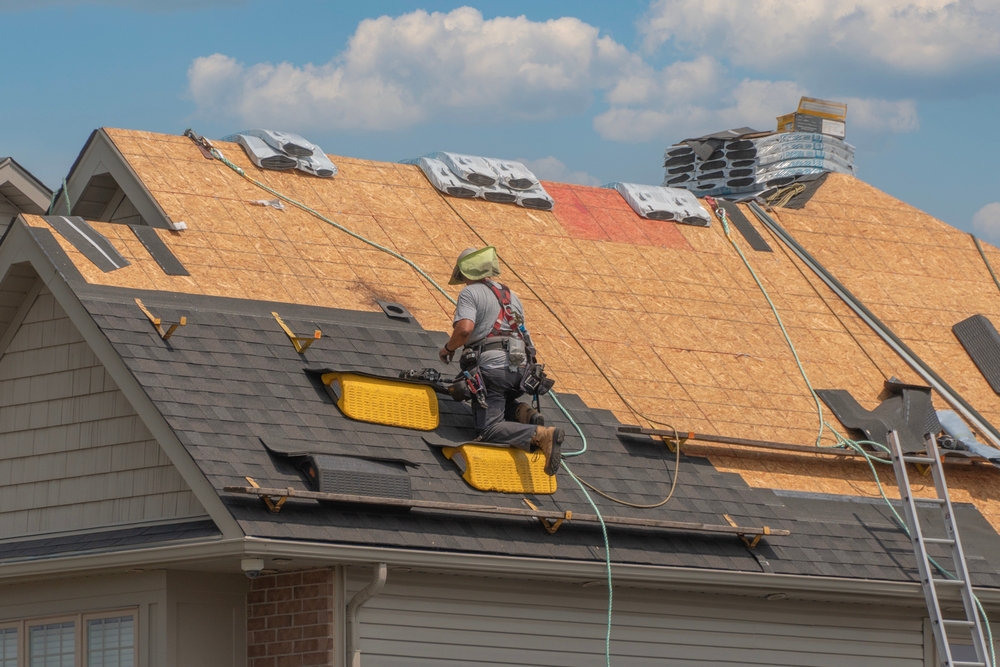
If you do go up on your roof, please understand that this can get pretty physical. If heights or the use of fall protection isn’t something you are comfortable with, seriously don’t attempt to do this.
Before you think of walking your roof, there is safety equipment that you need to factor into. At the very least, if going the ladder method, get a good and strong ladder.
| Tool | Cost Range |
|---|---|
| Ladder | $150–$350 |
| Work gloves | $5–$10 |
| Safety goggles | $10–$15 |
| Garden hose | $20–$50 |
| Spray nozzle | $10–$20 |
| Soft-bristled scrub brush | $8–$20 |
| Long-handled scrub brush | $14–$40 |
| Plastic sheeting | $7–$20 |
| Spray bottle (optional) | $6–$15 |
| Safety harness kit (optional) | $100–$150 |
Also wear clothes that can protect you from any of the chemicals, such as eye protection, a dust mask and good gloves. Now we’re going to share a good walkthrough if you do plan to actually climb on the roof itself for the task.
Step by Step Guide on Moss Removal on Roof
Here is what the basic roof clean plan looks like if planning to use this option.
1. Prepare Your Workspace: Before setting up the ladder, make sure that your workspace has a safe and steady platform that it can get secured to. It can go a long way to even go the length of locking in place with a ladder lock to avoid slipping while on the ladder.
2. Wet Down Your Shingles: Next you need to take a garden house with a strong spray and apply moss remover onto the affected spaces to wet them down and soften them. This loosens the structure to make it more simple to clean moss.
3. Gentle Sweeping: Grab a broom to then sweep from the top to bottom using some light force. The goal is to knock about 80% of the stuff free, aiming at taking out those really bad sections.
4. Apply More Water if Required: Continue wetting down any sections that are giving you problems so it makes them easier to handle and go from top to bottom. Use a spray bottle for precise application.
Chemical Warfare Against Moss
Special cleaning liquids, or moss killer, can help out when you come across tougher scenarios. You need to follow the manufacturer’s instructions.
Here’s the bad news: most store bought chemical options might contain harsh ingredients. But don’t worry, there are still options to kill roof moss.
For the do-it-yourselfer’s that prefer natural ingredients to solve a moss problem, mix some water with either white vinegar or dish soap. Then spray the affected surface and after some time, hose it off to get it off completely.
Following Up After Treating Moss
After the initial steps, use your normal cleaner and tools to remove any remaining moss. Using preventative treatment like granulated Zinc Sulfate helps protect your roofing material for some time.
A good plan is apply moss remover something twice a year for best results and continued use. Remember, it might be smart to get professionals for advice if your roof requires it.
Preventing Moss Growth In the Future
Trimming branches around your roof line helps a lot. More sunlight on the roofing surface lowers moisture, thus preventing moss.
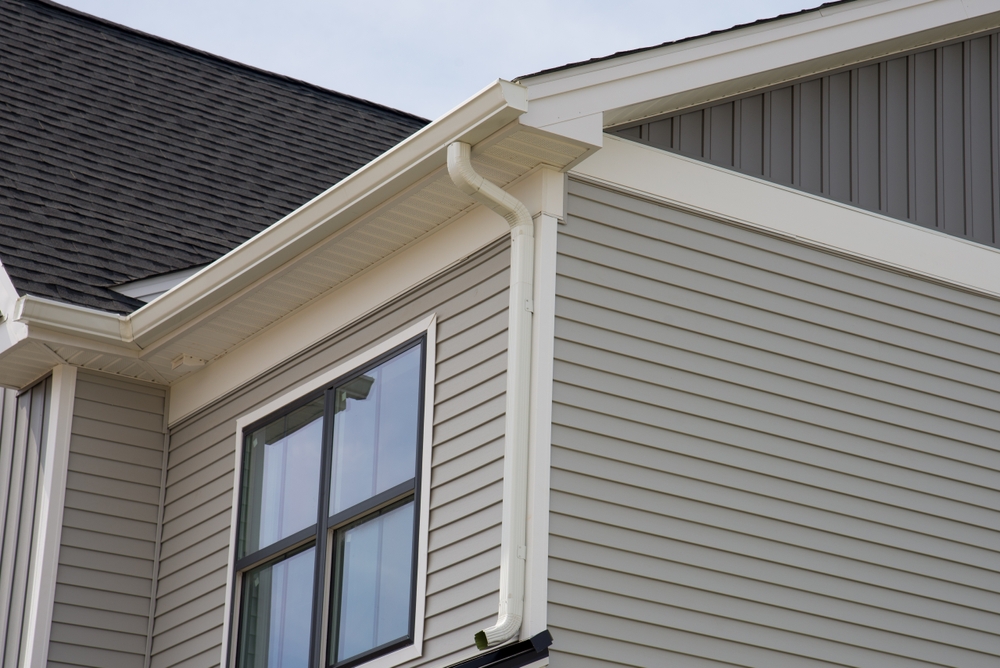
Regular maintenance of removing things such as leaves can go a long way. Clean gutters help a lot too, avoiding standing water to not let water collect that creates a great environment for future growth.
Copper or zinc roof strips can also make it tougher to get the issue from even beginning. They create an unfriendly environment for any roof moss growth.
FAQs about how to remove moss from roof
What is the fastest way to remove moss from a roof?
The fastest way is to start by hosing off any clumps with water to get them soft. Then go to using a soft-bristled brush to scrub moss off followed by treating the surface with cleaners.
If done twice a year, the chances will be good for stopping problems before they start. This helps with eliminating moss for good.
What time of year is best to remove moss from a roof?
The ideal time is typically when the moss is dried after it hasn’t rained in a long time, such as in the summer. This makes it easier to achieve a moss-free roof.
Is it worth removing moss from a roof?
Absolutely. Moss hold on a roof can result in future property problems and water damage, so taking action is crucial for maintaining your home’s structural integrity.
What is the best product to kill moss on a roof?
Granulated Zinc Sulfate works well to kill any existing and protects over the coming weeks or months. Moss doesn’t stand a chance with preventative measures. Sodium Diacetate is another more natural cleaning solution.
Conclusion
Figuring out how to remove moss from roof may not be something everyone thinks of, but it does play a critical role in your home. Just a little bit of preventative steps keeps small problems from becoming serious ones and helps prevent regrowth.
It’s not always fun to think about maintenance. However, when the results keep your roof in great shape for years to come, a little effort is better than neglect and expensive repairs. This helps your home keep it’s curb appeal, along with avoiding bigger issues of mold growth that you could experience if left alone.

