September 25, 2026

Choosing the right lighting scheme for your kitchen remodel comes down to three decisions made in order: where you actually work, how much light each zone needs, and what color that light should be. Most kitchens need roughly 70 to 80 lumens per square foot of general illumination, with closer to 100 at the countertops and range. Get those numbers settled before you shop fixtures, because the prettiest pendant in the showroom cannot fix a bad layout.
Walk the floor plan and mark every surface where something sharp, hot or messy happens: the prep counter, the sink, the cooktop, the baking station, the coffee zone. Those spots need dedicated task lighting that puts the light between your head and the work surface, not behind you where your shoulders cast a shadow.
In a typical 180 square foot kitchen, that usually means under-cabinet fixtures along every run of upper cabinets, plus one or two recessed fixtures centered over the sink and range. Under-cabinet LED strips or bars should deliver about 200 to 300 lumens per linear foot and mount toward the front edge of the cabinet bottom so the light hits the counter rather than the backsplash.
Only after the work zones are covered should you start filling in the ceiling. Designers who do it the other way around end up with a grid of recessed cans that lights the floor beautifully and leaves every cutting board in shadow.
Good kitchen lighting design stacks three separate layers, each on its own switch or dimmer. Combining them is what lets one room handle a 6 a.m. coffee run and a dinner party on the same wiring.
A fourth consideration, natural light, changes how all three behave. A north-facing kitchen in Montgomery County reads noticeably cooler and dimmer in February than a south-facing one, which is a real argument for adding dimmers rather than simply adding wattage.
The old rule of thumb still works: divide your ceiling height by two to get the spacing between recessed fixtures. An 8 foot ceiling means roughly 4 feet on center; a 9 foot ceiling stretches to about 4.5 feet.
Keep the centers of perimeter cans about 24 to 30 inches off the wall face so the beam lands on the countertop edge instead of washing the upper cabinet doors. With standard 24 inch deep base cabinets and 12 inch uppers, that placement puts usable light where your hands are.
Most remodels now use 4 inch or 6 inch LED downlights rated 600 to 900 lumens each. Online kitchen lighting layout calculators are a decent sanity check, but they assume flat, unobstructed ceilings and rarely account for a soffit, a range hood chase, or a joist running exactly where you wanted a fixture.
Hang pendants so the bottom of the shade sits 30 to 36 inches above the countertop, which keeps the light useful without blocking sightlines across the island. Space multiple pendants 24 to 32 inches apart center to center, and leave at least 6 inches between the end pendant and the edge of the island.
For sizing, a common guideline is to add the room’s length and width in feet, then treat that sum in inches as a reasonable total fixture diameter. A 12 by 15 foot kitchen lands around 27 inches, which could be one 27 inch fixture or three 9 inch pendants.
Kelvin describes how warm or cool the light appears. Residential kitchens almost always land between 2700K and 3500K, and mixing temperatures within a single room is the fastest way to make a new kitchen look unfinished.
Pay as much attention to CRI (color rendering index) as to Kelvin. Look for CRI 90 or higher so raw chicken, tomatoes and your new paint color all read accurately; the U.S. Department of Energy notes that quality LED products now hold both color and output over tens of thousands of hours. Tunable fixtures that shift between 2700K and 4000K have come down in price enough to be worth pricing out, particularly over an island.
This is the part most lighting articles skip, and it is where homeowners lose money. Every fixture location, switch position and dimmer choice should be final before the electrician pulls wire and before drywall closes the ceiling.
Moving one recessed can after rough-in is a $75 change. Moving it after drywall, paint and crown molding is closer to $400 once patching and repainting are included.
A workable sequence looks like this:
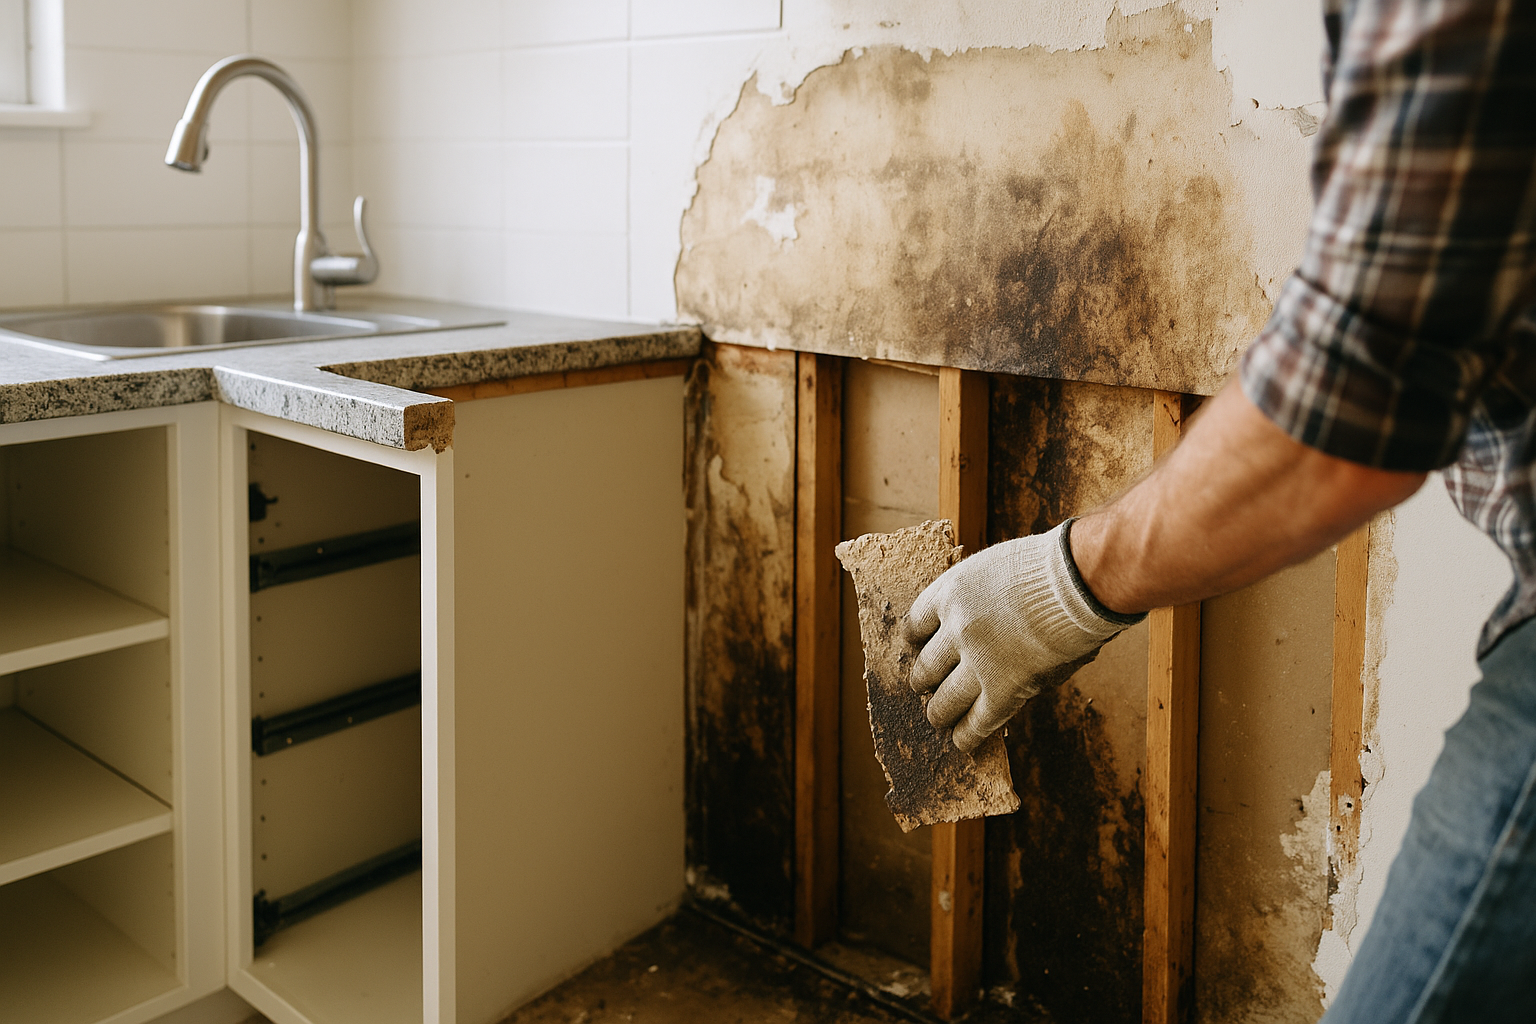
Older housing stock complicates all of it. In the plaster ceilings and shallow joist bays common to local farmhouses, there may be only 2.5 inches of depth for a fixture, which pushes you toward slim canless LEDs or surface-mount options. Those surprises surface during demo, right alongside issues like water damage discovered behind cabinets, which is one more reason to build a contingency into the schedule.
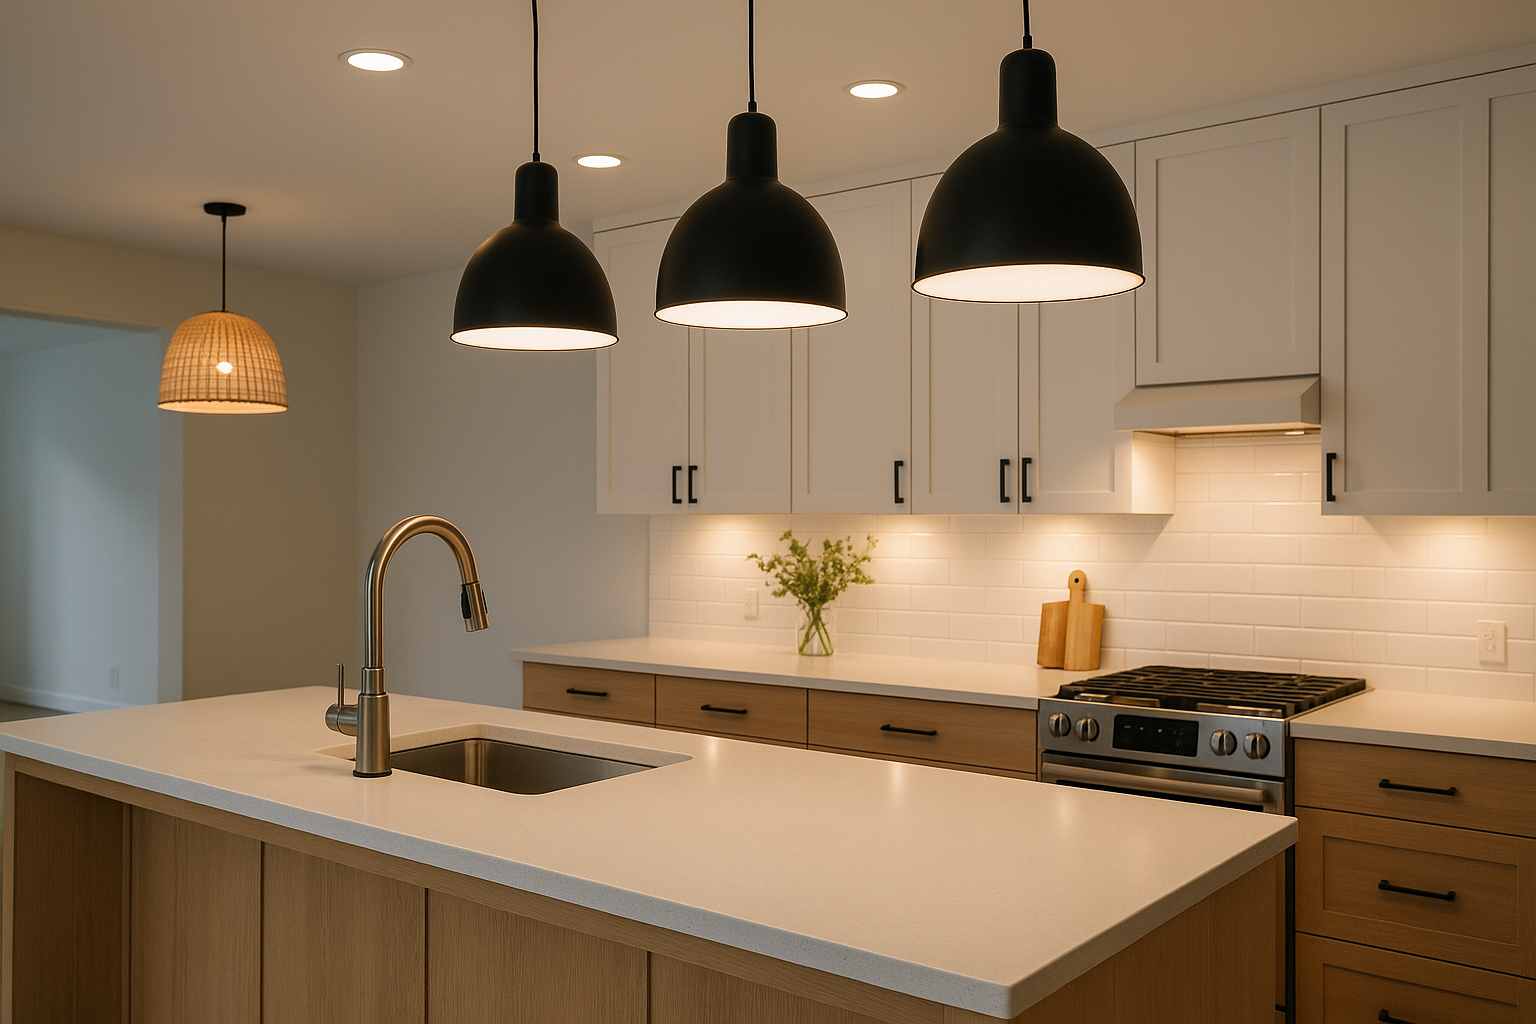
The grid of eight identical recessed cans has fallen out of favor. Current kitchen ceiling lighting design leans on fewer downlights paired with one decorative statement piece, which reads warmer and photographs better.
Finish choices and light interact constantly. A warm white cabinet under 3500K light can look faintly blue, so test paint and stain samples at night under the actual bulbs you plan to install, something our painting crews in Lansdale, PA run into on nearly every interior repaint tied to a kitchen project.
Fixture budgets swing wildly, but installed labor is fairly predictable. Expect roughly $125 to $250 per recessed fixture installed in an accessible ceiling, $300 to $900 for a full run of hardwired under-cabinet lighting, and $150 to $350 to hang a pendant on an existing box.
A full lighting package for a mid-size remodel, including fixtures, dimmers and labor, commonly runs $2,500 to $6,500. Plaster ceilings, added circuits, or panel upgrades push that higher, and permit requirements vary by township.
Accessibility standards are worth borrowing from even in a residential project, particularly switch heights and glare control; the same thinking that shapes ADA-compliant commercial remodels in Pennsylvania makes a home kitchen easier to use as people age. If part of your cooking happens outside, coordinate the interior scheme with your outdoor kitchen plan so the two spaces do not clash through the back windows at night.
The 5’7″ rule says to keep the bottom of hanging fixtures above about 5 feet 7 inches off the floor in walkways, since that is roughly average standing eye level. Staying above that line keeps bare bulbs and glare out of your sightline as you move through the kitchen. Over a countertop or island where no one walks, the 30 to 36 inch clearance above the surface takes priority instead.
Start by calculating total output at 70 to 80 lumens per square foot, then split that across ambient, task and accent layers on separate dimmers. Place task fixtures over work surfaces first, space recessed cans at roughly half your ceiling height, and pick one color temperature between 2700K and 3500K for the entire room. Confirm every location before electrical rough-in.
The dominant 2026 trend is fewer recessed fixtures (often 2 to 4 instead of 8) paired with one oversized decorative fixture over the island. Natural materials like plaster, rattan and ribbed glass are replacing polished chrome, and scene-based dimming controls are becoming standard rather than a luxury add-on.
3000K suits most kitchens because it stays warm enough to feel residential while rendering food and finishes accurately. Choose 3500K if your cabinets are bright white, your counters are marble or quartz, and you want a crisper, more contemporary feel. Whichever you pick, use the same temperature and a CRI of 90 or higher in every fixture in the room.
Our team at Wolfpack Home Services maps fixture locations, switching and circuits alongside the cabinet layout, so the plan is settled before the electrician arrives. Call or send us your floor plan for a walkthrough and a written estimate on your kitchen remodel.
From kitchens to roofs, I manage projects that transform your home.
