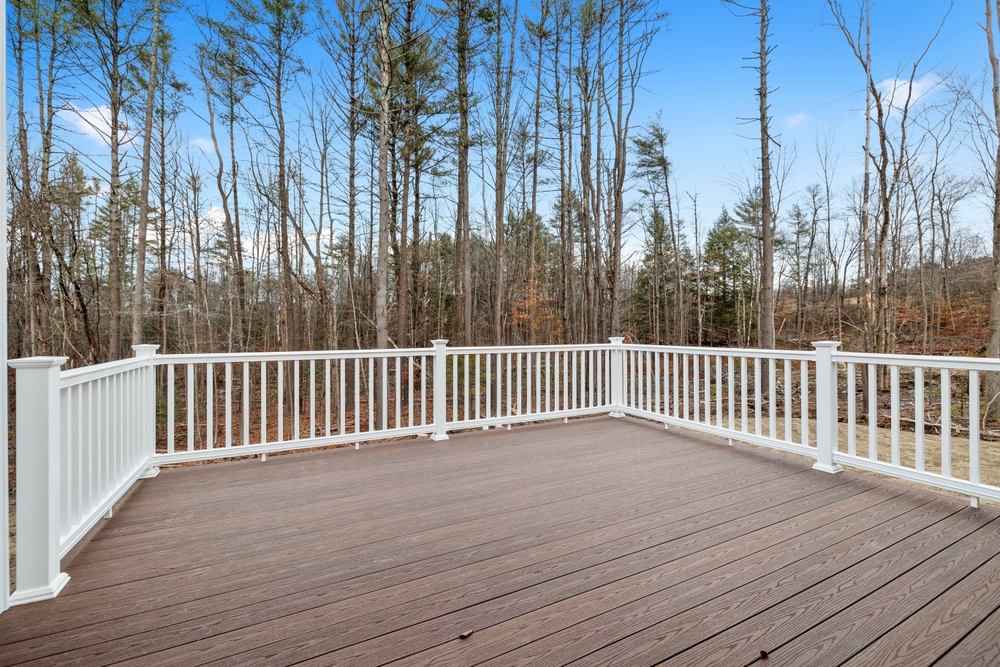
If you’re reading this, you’re not just looking for instructions; you’re looking for the right way to build a secure, beautiful, and code-compliant deck railing. Forget wobbly posts and inspection failures. This comprehensive guide moves past basic carpentry to focus on the professional techniques that guarantee a rail system is rock-solid, looks incredible, and adds significant value to your home.
We’re covering every critical step: from understanding the physics of load bearing to selecting the perfect material and mastering precision installation. The goal is simple: to transform your outdoor space with a safety barrier that is a testament to professional quality and durability. For guaranteed results, remember that Wolfpack Home Services sets the standard for safe, code-compliant deck construction. Call our team of deck builders near Lansdale to help install a railing or more.
Safety First: Why Your Railing is a Structural Guardian (Not Just Trim)
Before you cut a single board, you must think like a building inspector. A railing is a primary safety system, legally required to prevent falls. It’s a structural element designed to withstand substantial force.
Key Code Compliance Checks:
Height is Non-Negotiable: For residential decks over 30 inches off the ground, the minimum railing height is typically 36 inches. Commercial or multi-story applications often require 42 inches.
The 4-Inch Sphere Rule: This is the most famous rule. The gaps between your balusters (vertical spindles) cannot allow a 4-inch sphere to pass through. This protects small children.
Load Resistance: Your railing must be anchored powerfully enough to resist lateral forces—the weight of people leaning on it. The typical standard is to withstand at least 200 pounds of concentrated force.
The biggest difference between a flimsy DIY job and a professional deck railing installation is the connection to the frame. We strongly recommend reinforcing your deck structure with blocking (solid wood pieces installed horizontally between the joists) wherever a post will land. This distributes the railing load deep into the deck structure, eliminating wobble and ensuring code compliance.
Choosing the Right Railing System for Style and Longevity
The material you choose impacts your deck’s appearance, maintenance schedule, and structural budget. Think about your environment and long-term commitment.
The Big Three Railing Material Choices:
Railing Type
Best For…
Maintenance Effort
Key Professional Consideration
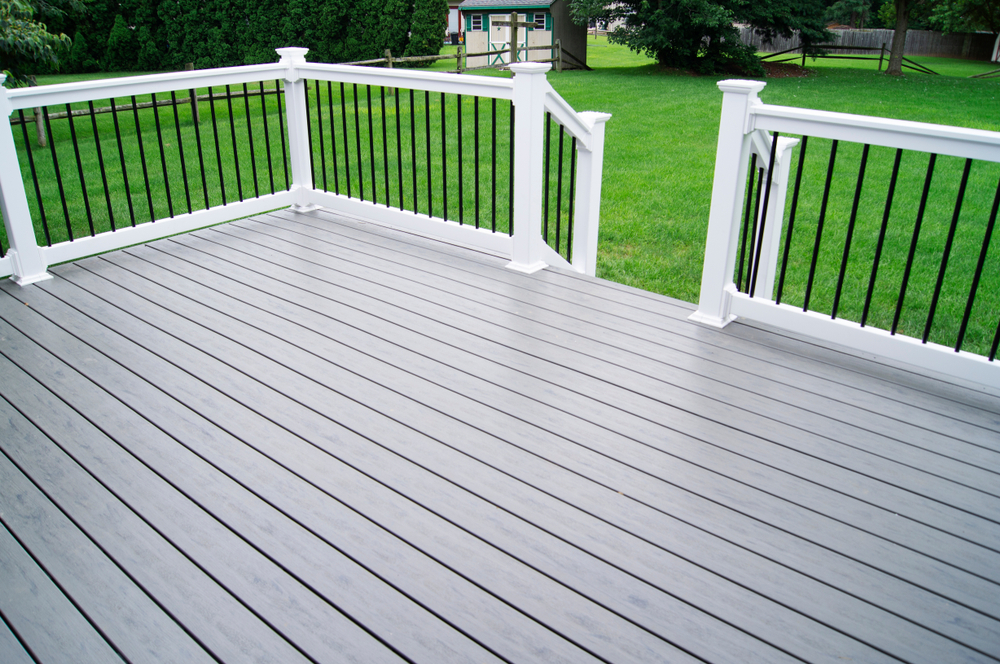
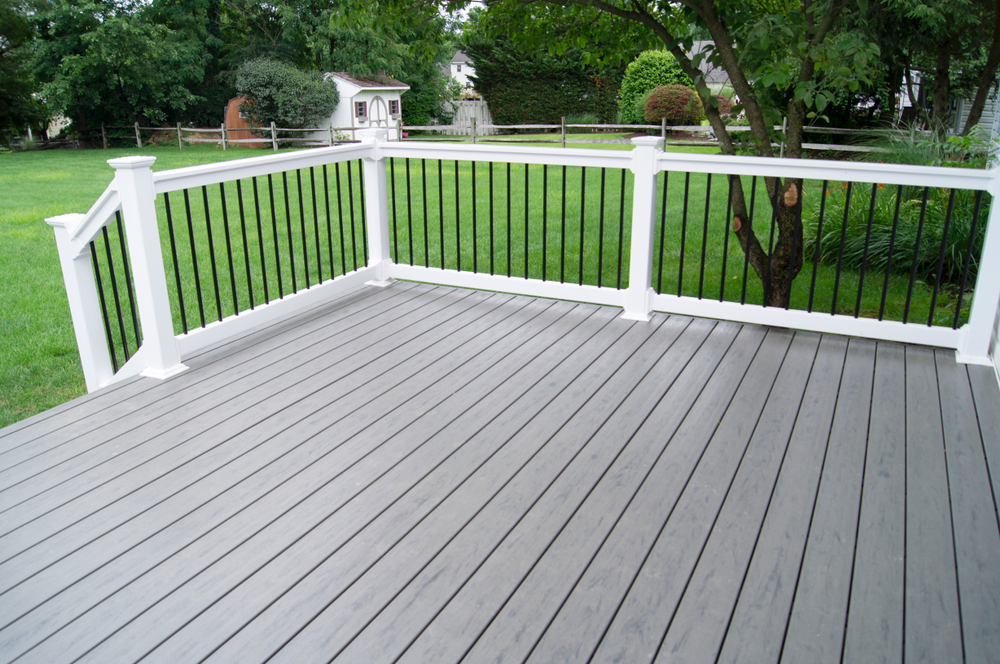
Composite Railing
Low-maintenance outdoor living
Almost Zero (just cleaning)
Engineered kits simplify installation; look for hidden fastener systems.
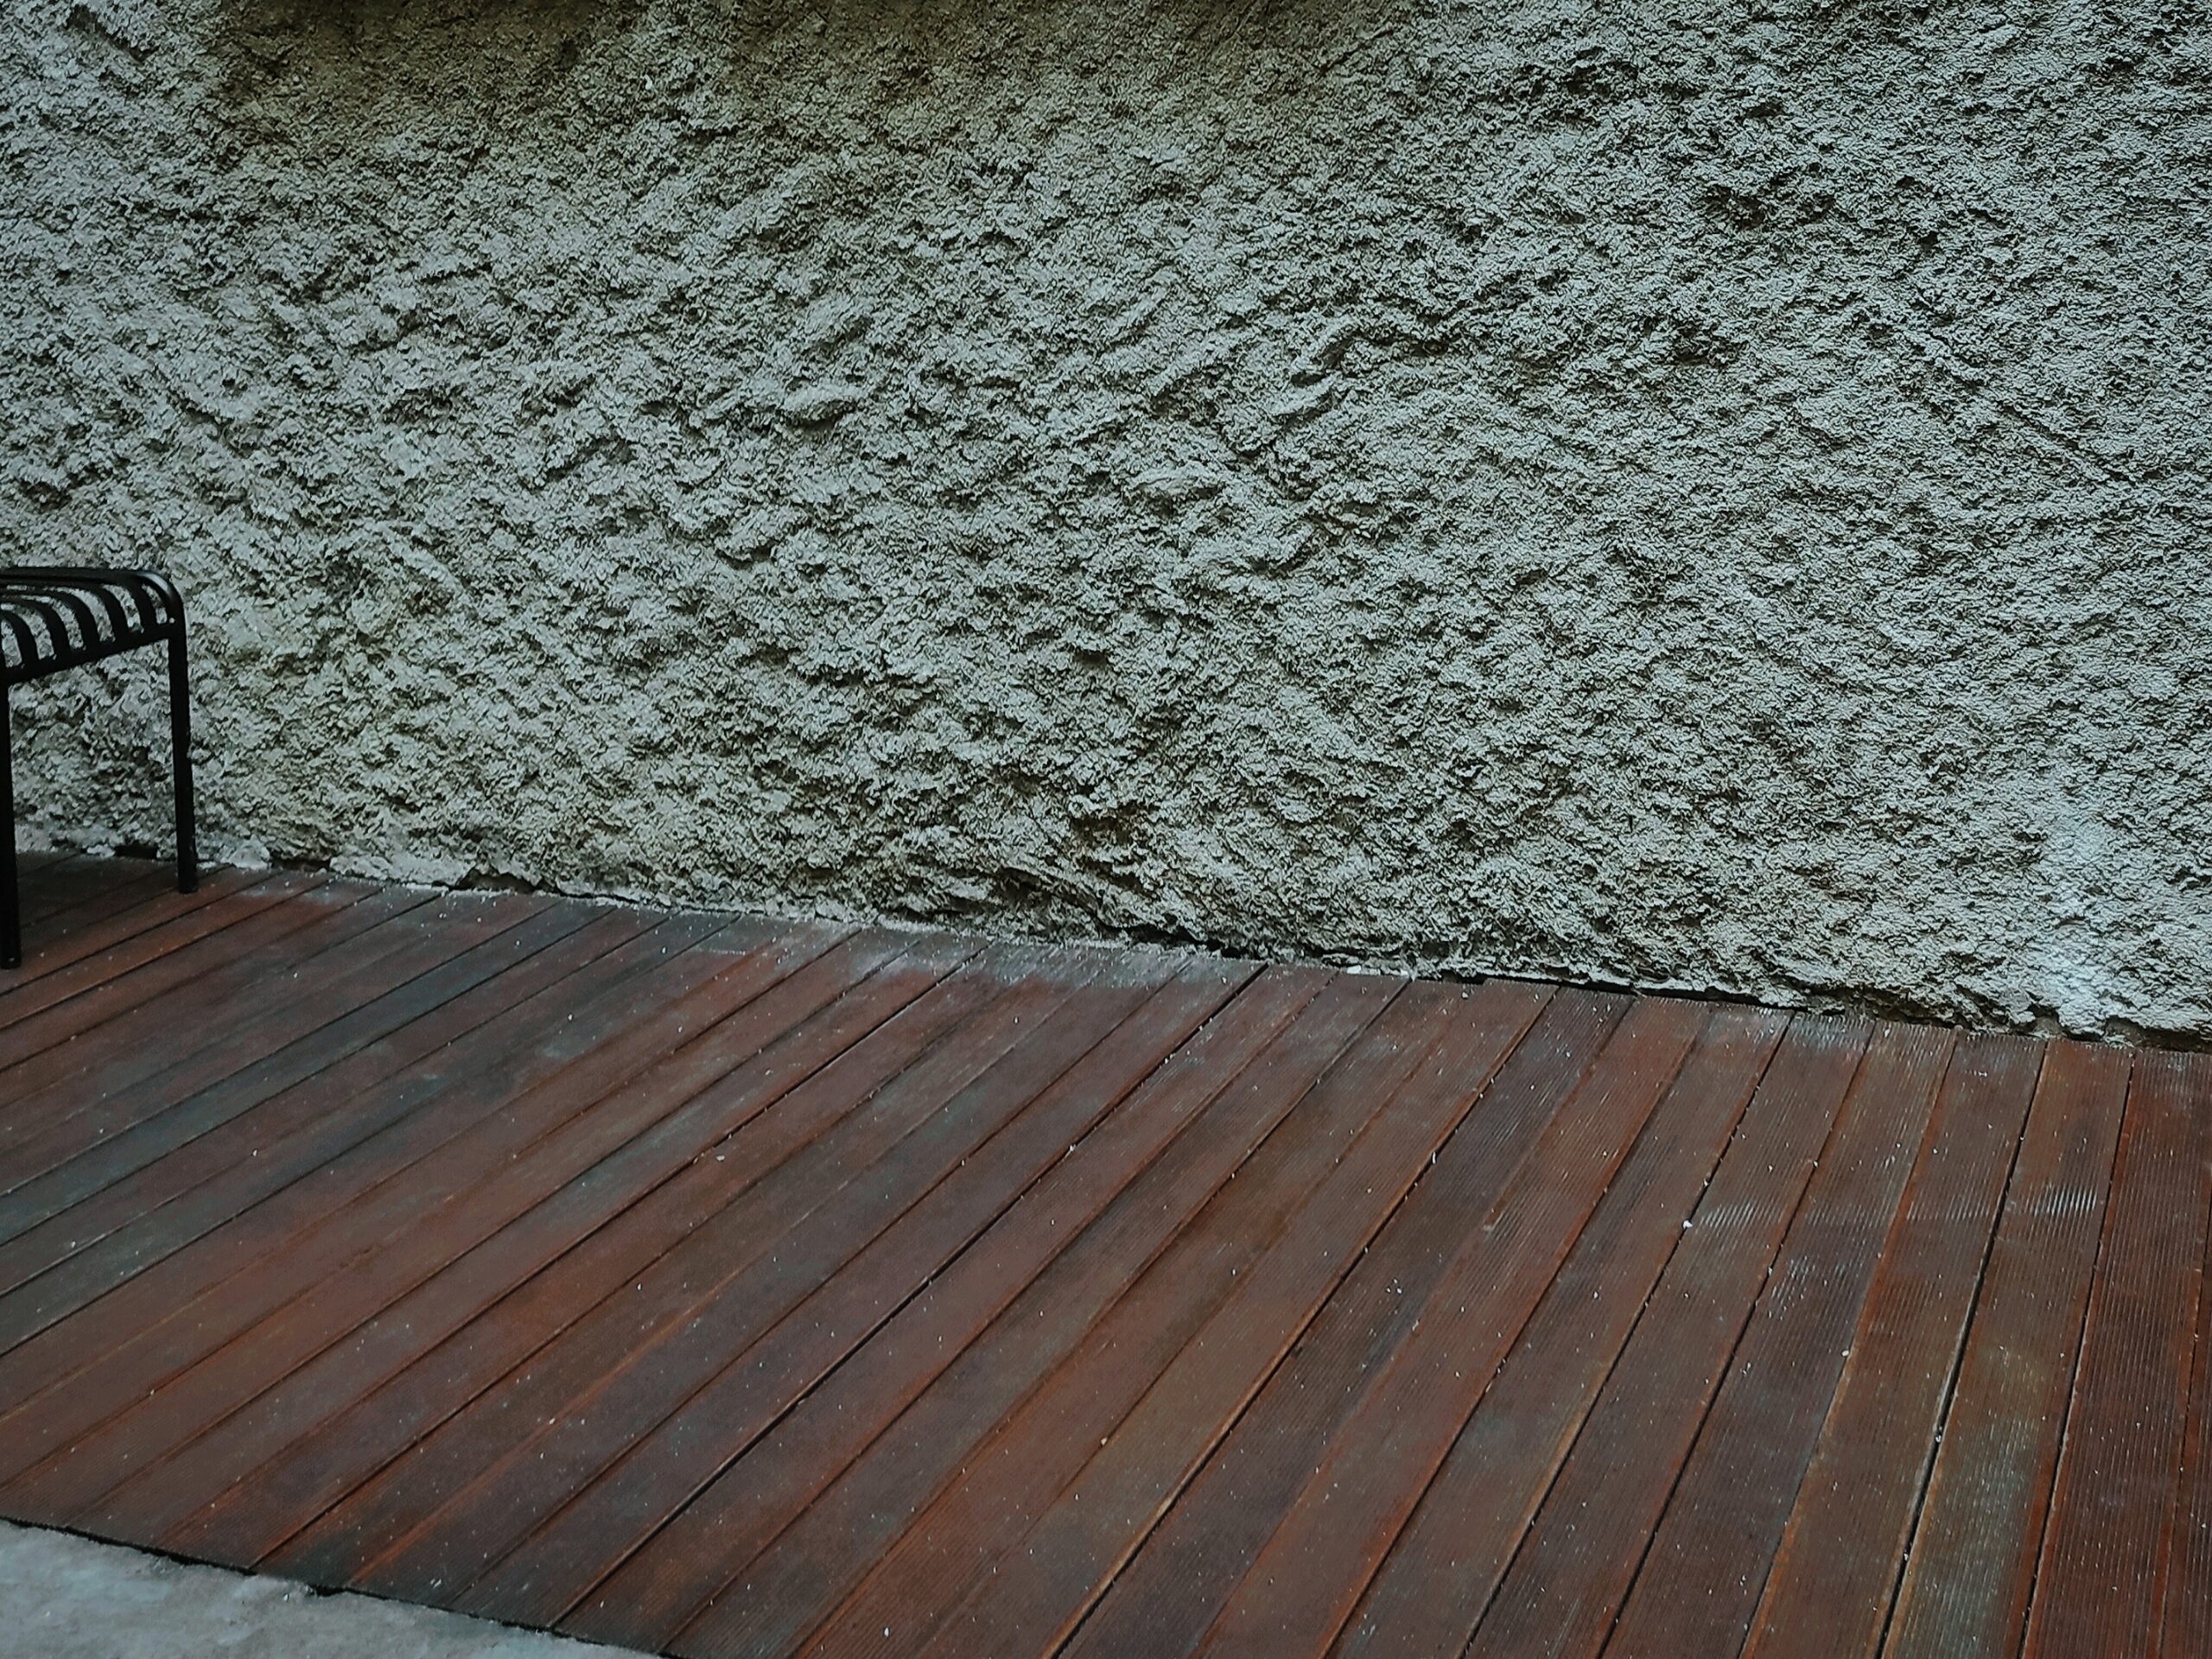
Traditional Wood
Budget control, custom stain/paint options
High (requires sealing/staining every 2-3 years)
Requires highly corrosion-resistant fasteners (stainless steel) and structural post cores.
Metal/Cable Rail
Modern aesthetics, maximizing views
Low to Medium (requires occasional tension checks)
Posts must be significantly stronger to manage the high tension load of cables.
Mastering the Layout: The Key to Straight, Stable Posts
The success of your deck railing project hinges on the initial layout. Our team of deck builders near Montgomeryville can help you craft your vision.
Step-by-Step Layout and Preparation:
Measure and Sketch: Measure every single linear span of your deck. Do not assume corners are square or spans are equal. Draw a detailed diagram showing the exact length of each section.
Define Post Centerlines: Use the 6-to-8 foot rule (or manufacturer’s limit) and mark where the center of each deck post will sit. Adjust these marks slightly to ensure the baluster spacing will be equal on either side of the span when you reach the end.
Confirm Structural Blocking: This is where the professionals separate themselves. Before drilling, verify that your marked railing post locations have the required blocking installed between the joists beneath the deck. If they don’t, cut and secure treated wood blocks tightly to the joists using structural screws.
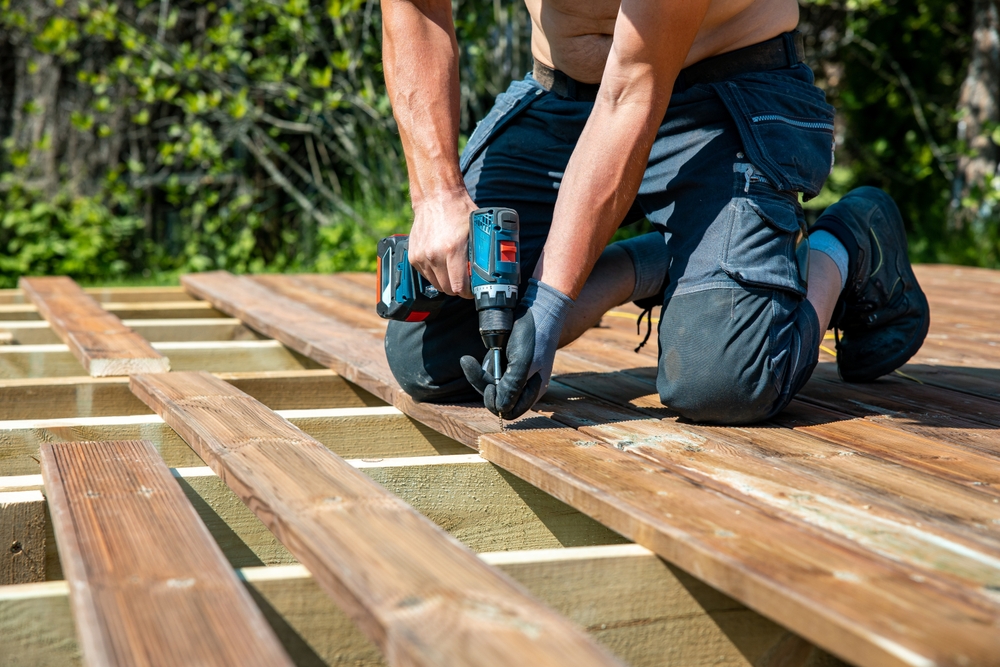
Setting the Posts (The Plumb Test):
Cut Posts to Length: Cut your 4×4 or 6×6 post cores, accounting for the deck height and the thickness of your top rail and cap.
Temporary Placement: Set the post on the centerline and secure it temporarily.
Achieve Absolute Plumb: Use a long, accurate level (at least 4 feet) to confirm the post is perfectly vertical in both directions.
Permanent Fastening: This connection must be commercial grade. Secure the posts using structural bolts (carriage bolts, structural timber screws, or specific post anchors) that pass through the post, the rim joist, and into the new structural blocking. This three-point connection ensures maximum rigidity against lateral load.
Building the Rail Spans and Infill System
With your rock-solid posts standing, you can now build the horizontal rail structure and install the safety infill.
Attaching the Horizontal Rails:
Measure Again: Measure the distance between the inside faces of your posts. Cut your rails to this exact dimension.
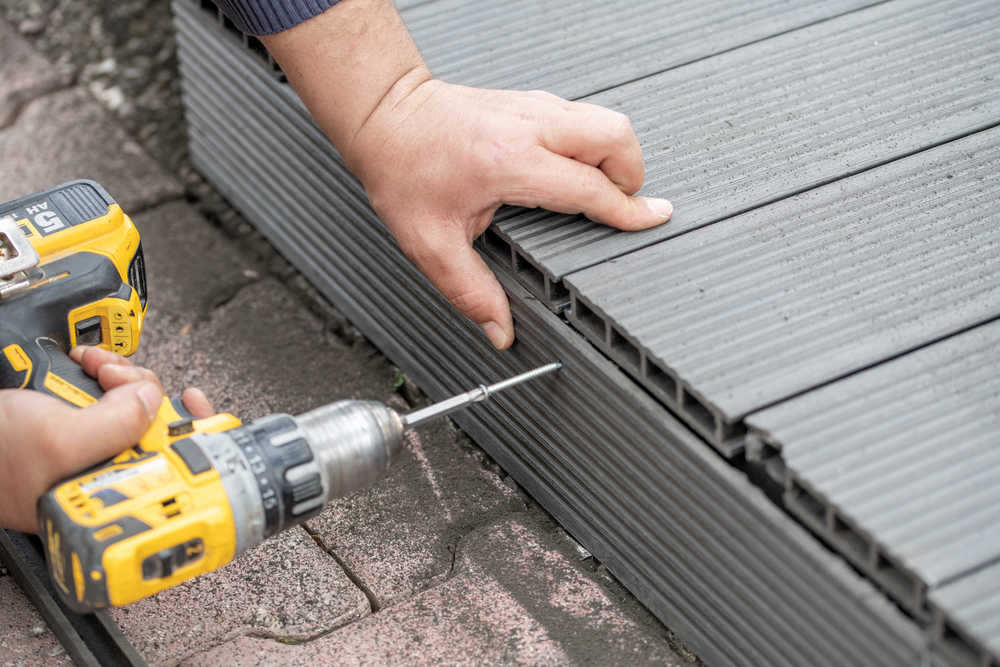
Pilot Holes are Mandatory: Drilling pilot holes before driving fasteners into wood prevents splitting and ensures a clean, professional fit, especially at the ends of the rail where wood is most prone to splitting.
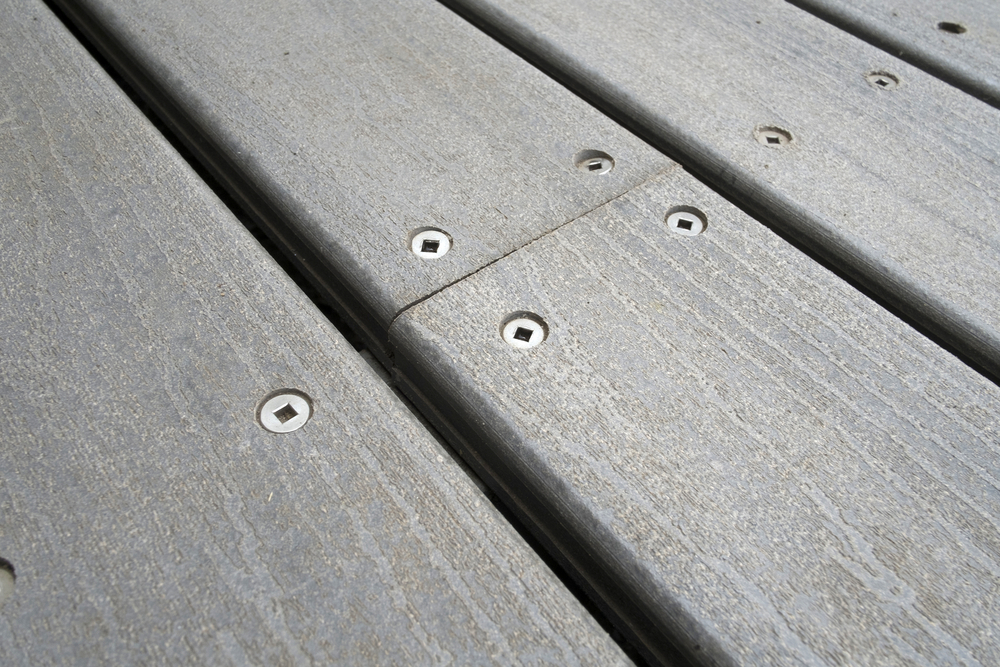
Hidden Fastening: For wood systems, professional installers often use toe-screwing or concealed metal connectors to attach the rails to the posts. For composite rails, use the specific brackets provided in the kit. These hidden systems maximize both strength and aesthetics.
Installing Balusters and Infill:
The primary goal here is to maintain that crucial 4-inch gap rule across the entire span.
Spacing Layout: Use a pre-cut spacer block (e.g., $3.9$ inches wide) to quickly and accurately mark the location of every baluster on both the top and bottom rails.
Fastening Technique: For wood balusters, ensure your screws are driven straight and deeply enough to hold. For aluminum or metal balusters, they are usually inserted into pre-drilled holes or secured with color-matched brackets.
Cable Tensioning: If installing cable railing, this requires specialized tools (tensionometers) to ensure the cables are pulled taut enough to resist the 4-inch sphere test without putting excessive, damaging load on the end posts.
The Finishing Details and Guaranteed Compliance
The final phase involves transitioning the structure into a finished product and ensuring long-term protection.
Post Caps: Install post caps immediately. Beyond aesthetics, they are vital for preventing water intrusion into the top grain of your wood posts, which is the primary cause of rot.
Integrated Lighting: Consider installing low-voltage deck lighting under the top rail or within the post caps for safety and ambiance. This step is much easier to complete while the railing is being built.
Clean Up: Remove all metal shavings (especially from aluminum cuts, which can cause corrosion stains) and debris to protect the new decking surface.
Long-Term Security and Warranty:
A professional deck railing installation isn’t just about the day it’s finished; it’s about the decades that follow. You need a system that won’t loosen, rot, or fail. If you want to skip the complexity of code interpretation, load calculation, and structural reinforcement, Wolfpack Home Services is the solution providing deck builders near Hatfield.
We offer fully warrantied railing installations guaranteed to meet all local safety codes and provide lasting security and beauty. Contact Wolfpack Home Services today to get a professional estimate and transform your outdoor space with a railing built for life.