April 21, 2026
0 Comment

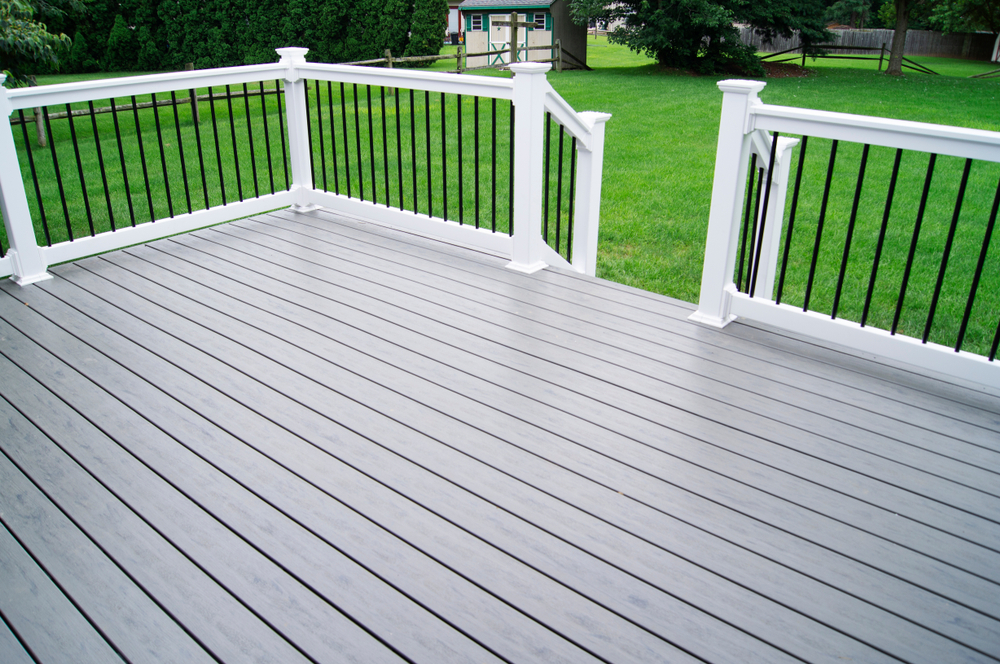
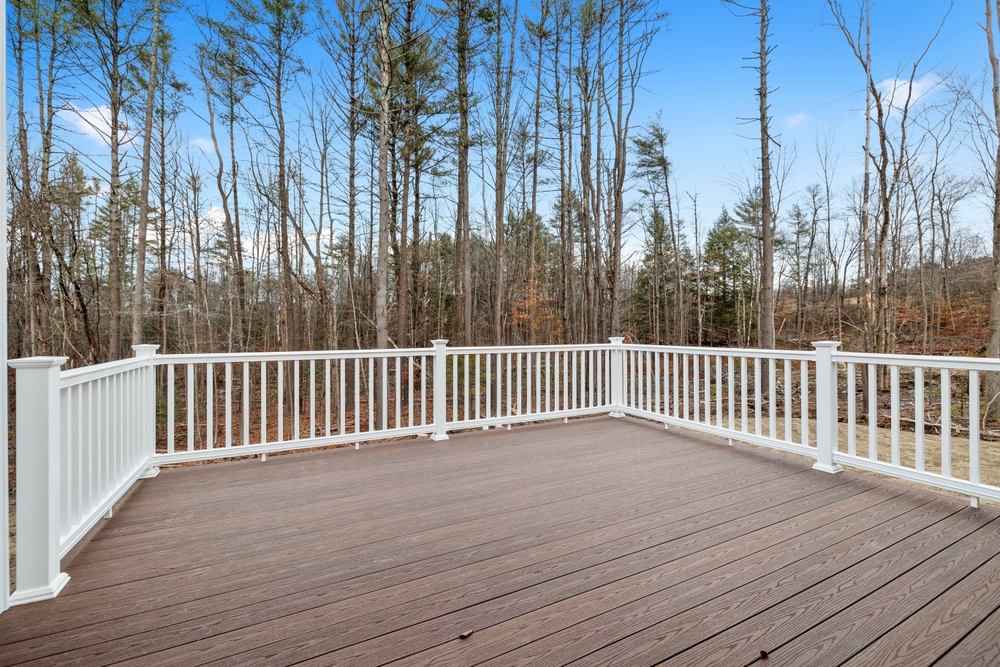
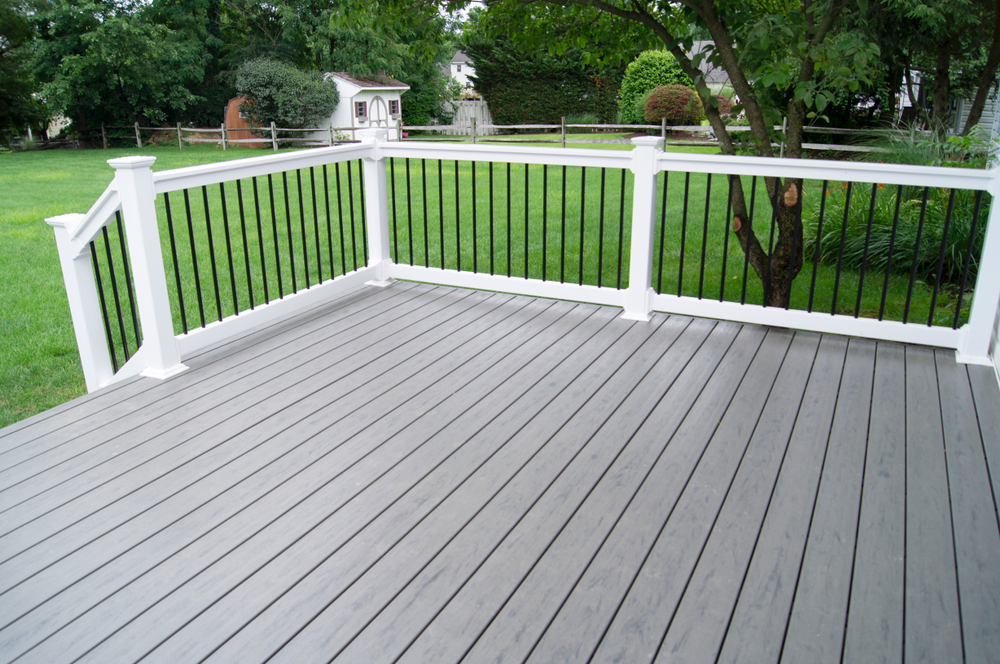
If you’re tired of staring at a dull backyard and want a clean, low-maintenance outdoor space, composite decking is a smart choice. You’ve probably seen those smooth gray or brown decks online and wondered if you could build one yourself. The short answer: yes but it’s about planning and care as much as it is about tools.
This guide walks you through layout, framing, gapping, and fastening, and points you to the manufacturer resources that make sure you follow best practices. If you’d rather leave the heavy lifting or tricky details to a pro, Wolfpack Home Services offers on-site consultations and full installs from our deck builders in Skippack.
Composite decking blends plastic and wood fibers. That mix resists rot and insect damage far better than plain lumber; the plastic limits moisture uptake while the wood flour adds stiffness. Composites won’t splinter or require sanding and staining every spring, so the lifetime cost and upkeep are usually lower than with traditional wood.
Different product lines vary in scratch resistance, color stability, and price. If comparing brands feels overwhelming, Wolfpack Home Services can help you choose a profile that balances appearance, performance, and budget.
Most deck problems start on paper. A thoughtful plan avoids crooked layouts, wobbly stairs, and drainage issues.
Contact your local building department for permit requirements and any standard details they provide. Codes define footing depths, joist spans, guardrail heights, and other safety limits. Many contractors (including Wolfpack Home Services) will prepare permit-ready plans and handle permit submission for you.
Map the house, door swing, steps, and obstacles (hose bibs, vents). Draw joists in the direction you want the boards to run. Most composite manufacturers require 16″ on-center joist spacing when boards run perpendicular to joists — tighten to 12″ for diagonal installations. Manufacturer install guides (for example, Trex and similar brands) list span limits for common profiles.
Board direction and borders affect framing and blocking. Decide now if you want a picture-frame border, diagonal lay, or standard straight run. Many installers, including Wolfpack Home Services, offer layout previews to show how patterns affect cuts and waste.
You don’t need a pro shop, but you will need reliable tools and the right materials.
Don’t forget pilot drill bits — pre-drilling is common and helps prevent damage near board ends. If you’d rather have materials sourced and delivered, Wolfpack Home Services can package decking, clips, and fasteners and simplify ordering.
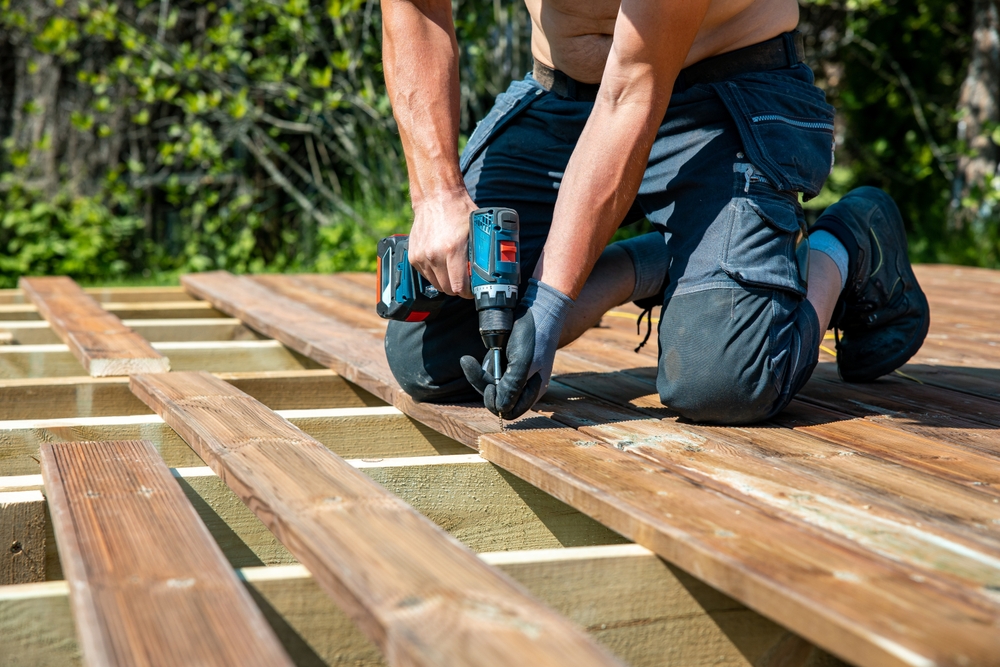
A solid, quiet deck comes from a properly built frame.
Store boards flat and supported, out of standing water, and follow any manufacturer recommendations for acclimation. Snap a chalk line for your first board and leave the manufacturer-specified gap from the house.
Composite expands and contracts with temperature. Use the brand’s gapping chart and spacers; gaps depend on install temperature and board profile. Treat the gapping chart like a spec sheet: follow it.
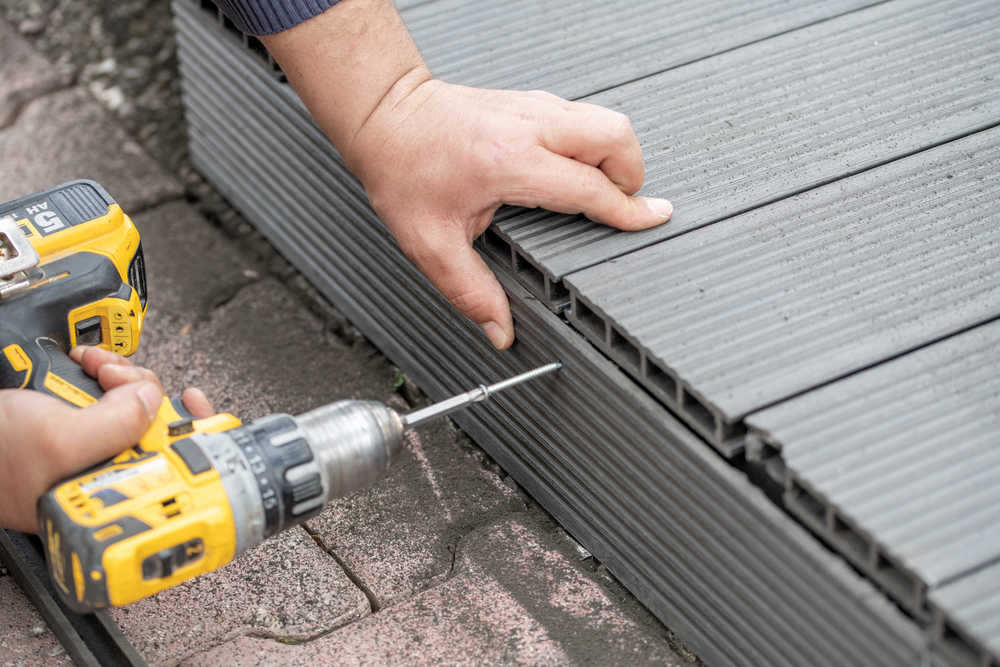
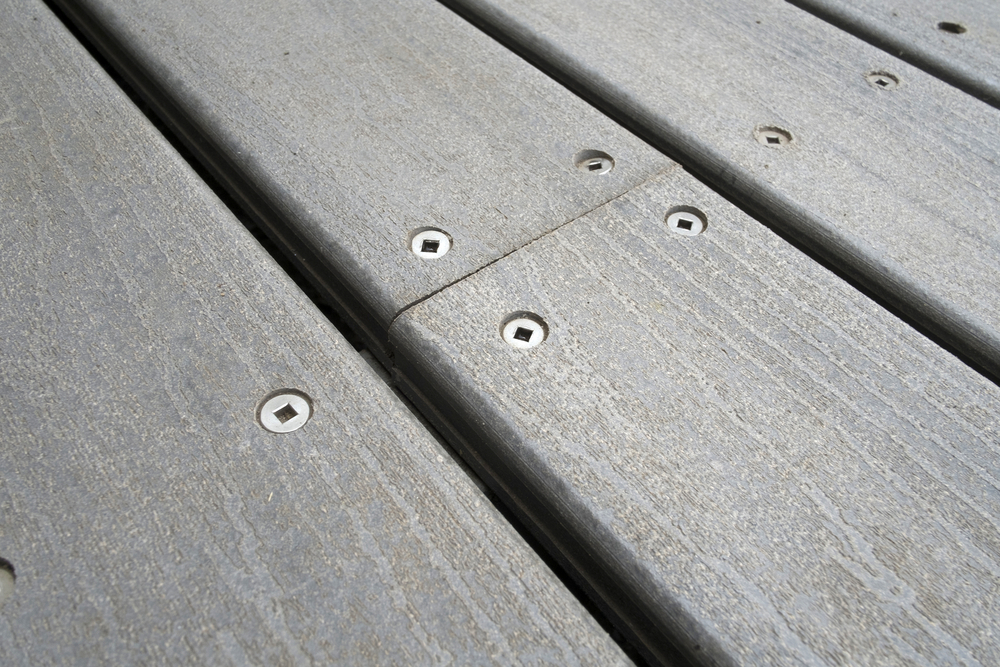
Choose face screws or a hidden clip system. Hidden clips give the clean, screw-free look most homeowners prefer; face screws are sometimes necessary at edges or trim. If you want a flawless clip installation, many homeowners hire Wolfpack Home Services to install clip systems regularly.
Use starter clips or fasten the first board per the manufacturer’s instructions. Keep it square to your chalk line because the entire deck depends on that first row.
Work across the deck, setting clips and installing boards. Check diagonals every few rows to remain square. Cut slightly long and trim for a clean final edge when needed.
Always provide bearing beneath each board end; add blocking so each butted end is supported on its own joist. Follow the manufacturer’s minimum end-gap recommendations.
Measure the remaining width in several spots; rip and fasten the last board. Where clips won’t fit, face-screw and conceal with trim. If final trimming is daunting, a contractor like Wolfpack Home Services can deliver a polished finish.
Use brand install guides and span tables — they’re the authority for gapping, fastening, and load limits. Keep copies of manuals and follow warranty requirements (flashing, fasteners, and framing specs are often conditions of coverage). If you’d like a pre-install checklist reviewed against the manufacturer’s specs, Wolfpack Home Services can perform that review.
Composite is low maintenance, not no maintenance. Sweep regularly and wash with mild soap and water a few times a year. Avoid harsh bleach cleaners unless approved by the manufacturer. If you’d rather not handle seasonal cleaning, local services like Wolfpack Home Services offer composite-safe cleaning and maintenance packages.
If you want a quick sanity check before laying expensive boards, many homeowners schedule a one-day site visit with Wolfpack Home Services for a pre-build inspection.
Pros can finish a typical deck in days; a DIY project will take longer. Footings and framing are the slowest phases. Board installation moves quickly once framing is correct. For a site-specific timeline and cost estimate, Wolfpack Home Services can provide an on-site measurement and a written proposal for deck installations in Collegeville.
A well-built composite deck comes down to planning, proper framing, and following manufacturer specifications. If you take the time to plan and use the right materials, the finished deck will be durable and low-maintenance. And if you want the job done efficiently and to code, professionals like Wolfpack Home Services can handle everything from permitting and material sourcing to installation and final finish work.
Let’s transform your backyard with a custom-built deck made to last.